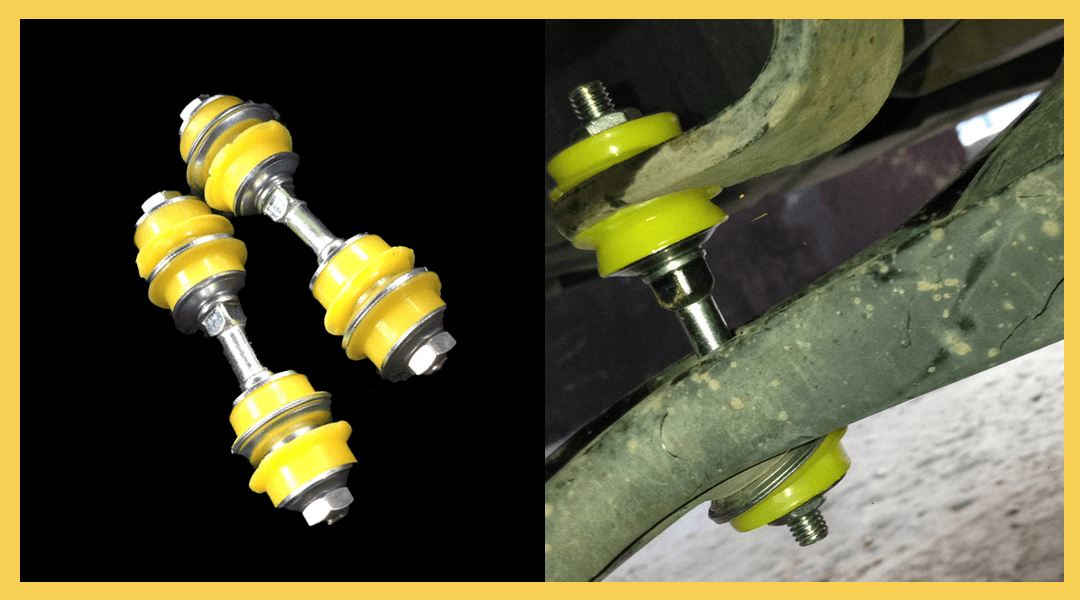
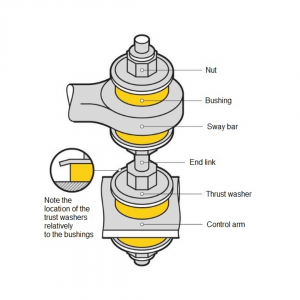
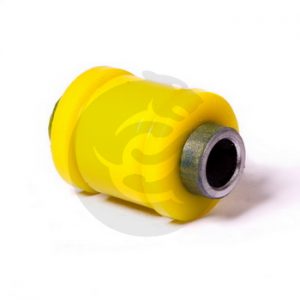
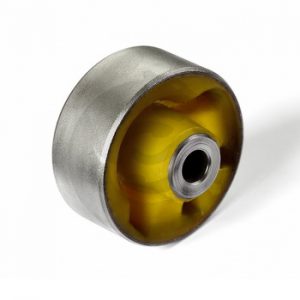
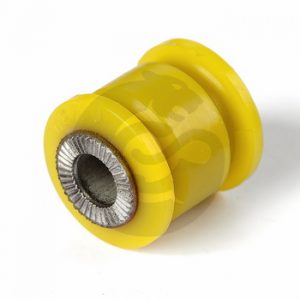
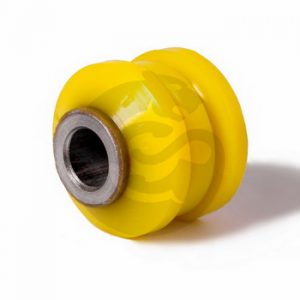
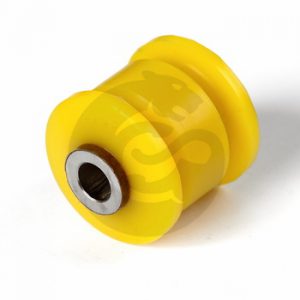
Attention! Before starting a work of the removing and installing of the bushings for the sway bar end links, take note of the shape and location of the thrust washers relatively to the bushings.
Removal
- Unscrew the nuts of sway bar end links.
- Remove the thrust washers. Dismount the outer bushings. Remove the end links from control arm and stabilizer. Dismount remaining inner bushings and thrust washers.
- Clean sway bar, thrust washers, housing areas of the end links and stabilizer from rust and dirt. Assess the quality of the parts.
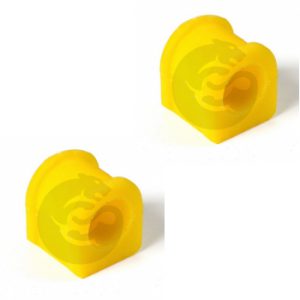
- If necessary, replace the end links and thrust washers depending on their wearout and damages.
Installation
- Lubricate the inner surface of the bushings with any consistent grease to facilitate the installation into the sway bar end links.
- Install the inner thrust washers and bushings on the end link.
- Install the end link into the control arm and sway bar.
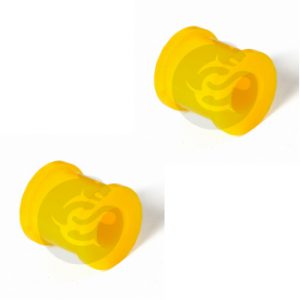
- Install the outer bushings and thrust washers, screw the nuts on the end link.
- Tighten the nuts.
Attention! The tightening force values are specified in the vehicle manufacturer’s documentation.
|
Possible problem* |
Sway bar end link bushing is crushed. |
Inaccurate tightening of the parts. |
Recent Comments